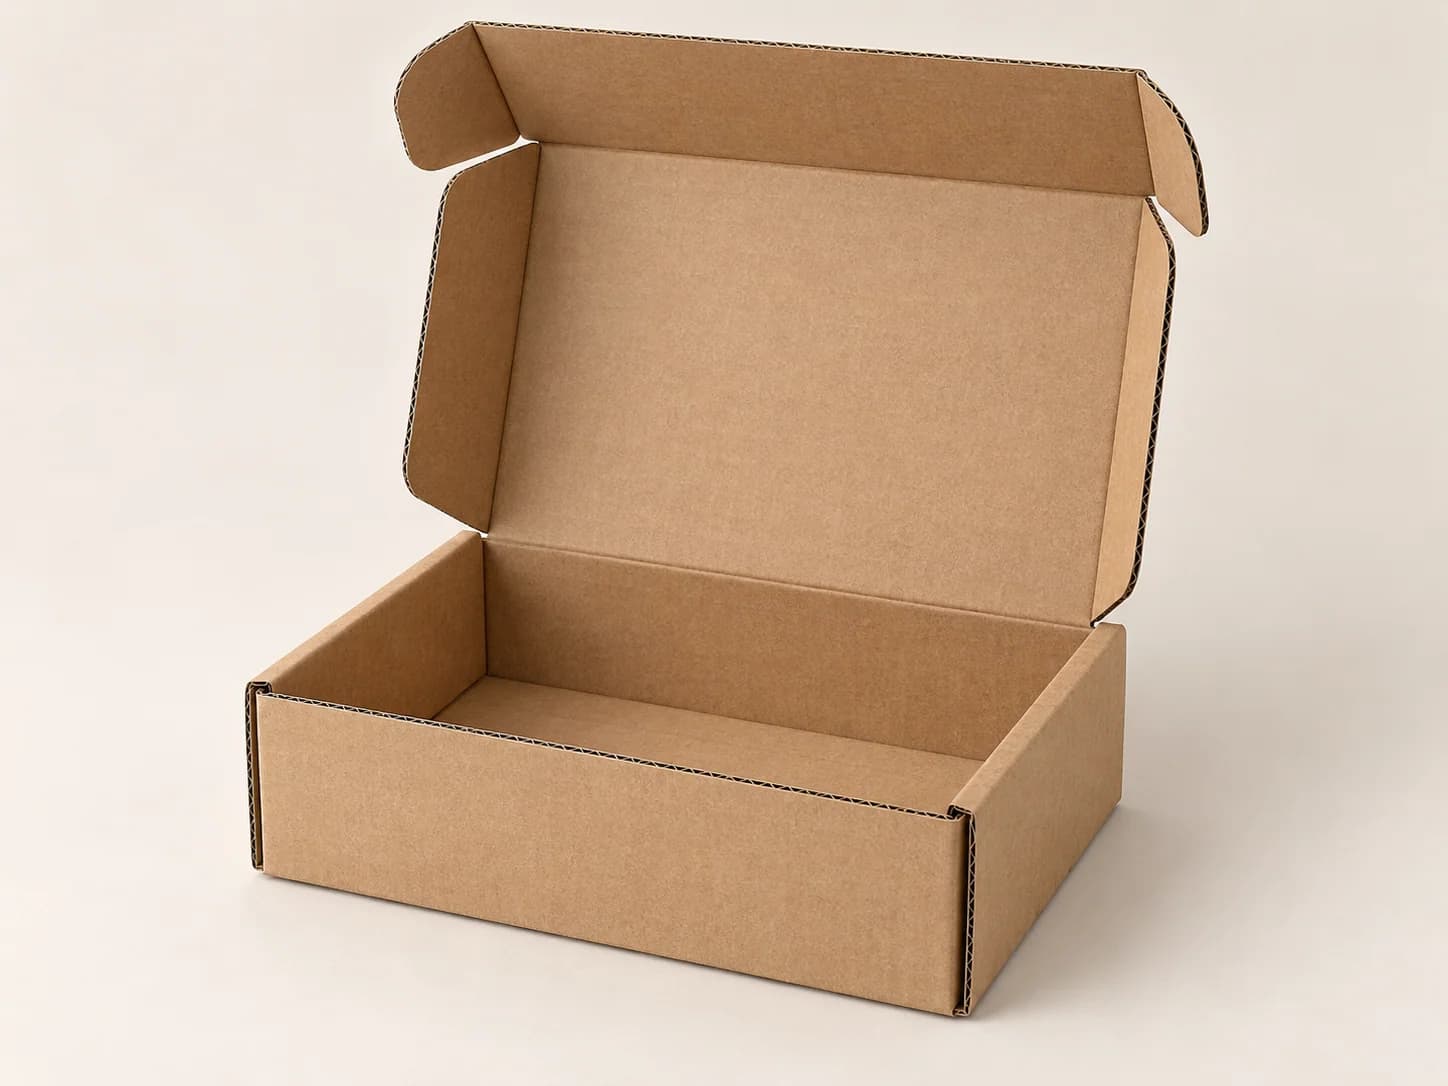
A custom corrugated mailer brings the box, product arrangement and opening experience into one specification. Kehong reviews printed mailer boxes for e-commerce and branded shipping around the packed product, paper inserts, closure and distribution route.
Build the internal dimensions from the packed contents
Arrange the product, accessories and any wrap in their intended positions before measuring. Add the space occupied by folded insert walls, locating features and dividers. The clear cavity must allow packing and removal while limiting unwanted movement; the product's bare dimensions are only the starting point.
Mark vulnerable surfaces, protrusions and the preferred presentation face. Record internal length, width and usable height separately from external dimensions, then check the insert and lid together in the closed box. Use external dimensions when reviewing outer cartons and shipping-space limits.
Choose corrugated construction for the complete job
Consider the product's mass and shape, handling route, storage conditions, desired print surface and available packing space. A flute designation describes the corrugated profile; it does not by itself specify the liners, total construction or verified protection performance.
A compact presentation format and a demanding distribution route may pull the design in different directions. Compare the complete box-and-insert arrangement through sampling instead of assuming that a thicker material alone will resolve movement or vulnerable edges.
Review closure, locks and assembly
Check the sequence for raising the walls, folding return panels and engaging tabs. The loaded insert must not obstruct locking slots or push against the lid. Assess opening access as well as the first assembly, especially when staff will pack many units.
Describe any need for shipment sealing, repeated opening or a return journey. The closure, added seal and packing instructions should be agreed for that workflow; an interlocking lid alone is not a tamper-evidence claim. Review the assembled outer dimensions after the chosen board and insert are fitted.
Balance print, presentation and protection
Outside printing carries the shipping presentation; inside printing can organise the opening experience. Identify the visible panels after folding and keep critical artwork away from scores, locks and cut edges. Review colour on the actual paper surface and confirm whether both sides require printing.
Corrugated inserts, paperboard inserts and dividers serve different locating and separation needs. Compare material use, assembly steps and the amount of empty space alongside presentation. Reducing material is useful only when the proposed pack still meets the agreed handling and protection checks.
Approve the box, insert and packing instructions together
Provide a product layout or representative sample, dimensions, quantity range, print areas and destination. Review a structural sample with the complete contents before finalising the artwork dieline. A print proof verifies layout and appearance, while an assembled sample verifies fit and operation.
Check movement, removal, closure and representative handling with the intended outer packing. Agree any distribution testing needed for the product and route before relying on a protection claim. Record the approved material, drawings, artwork version, assembly sequence and carton packing so changes to one component trigger a fit review of the set.