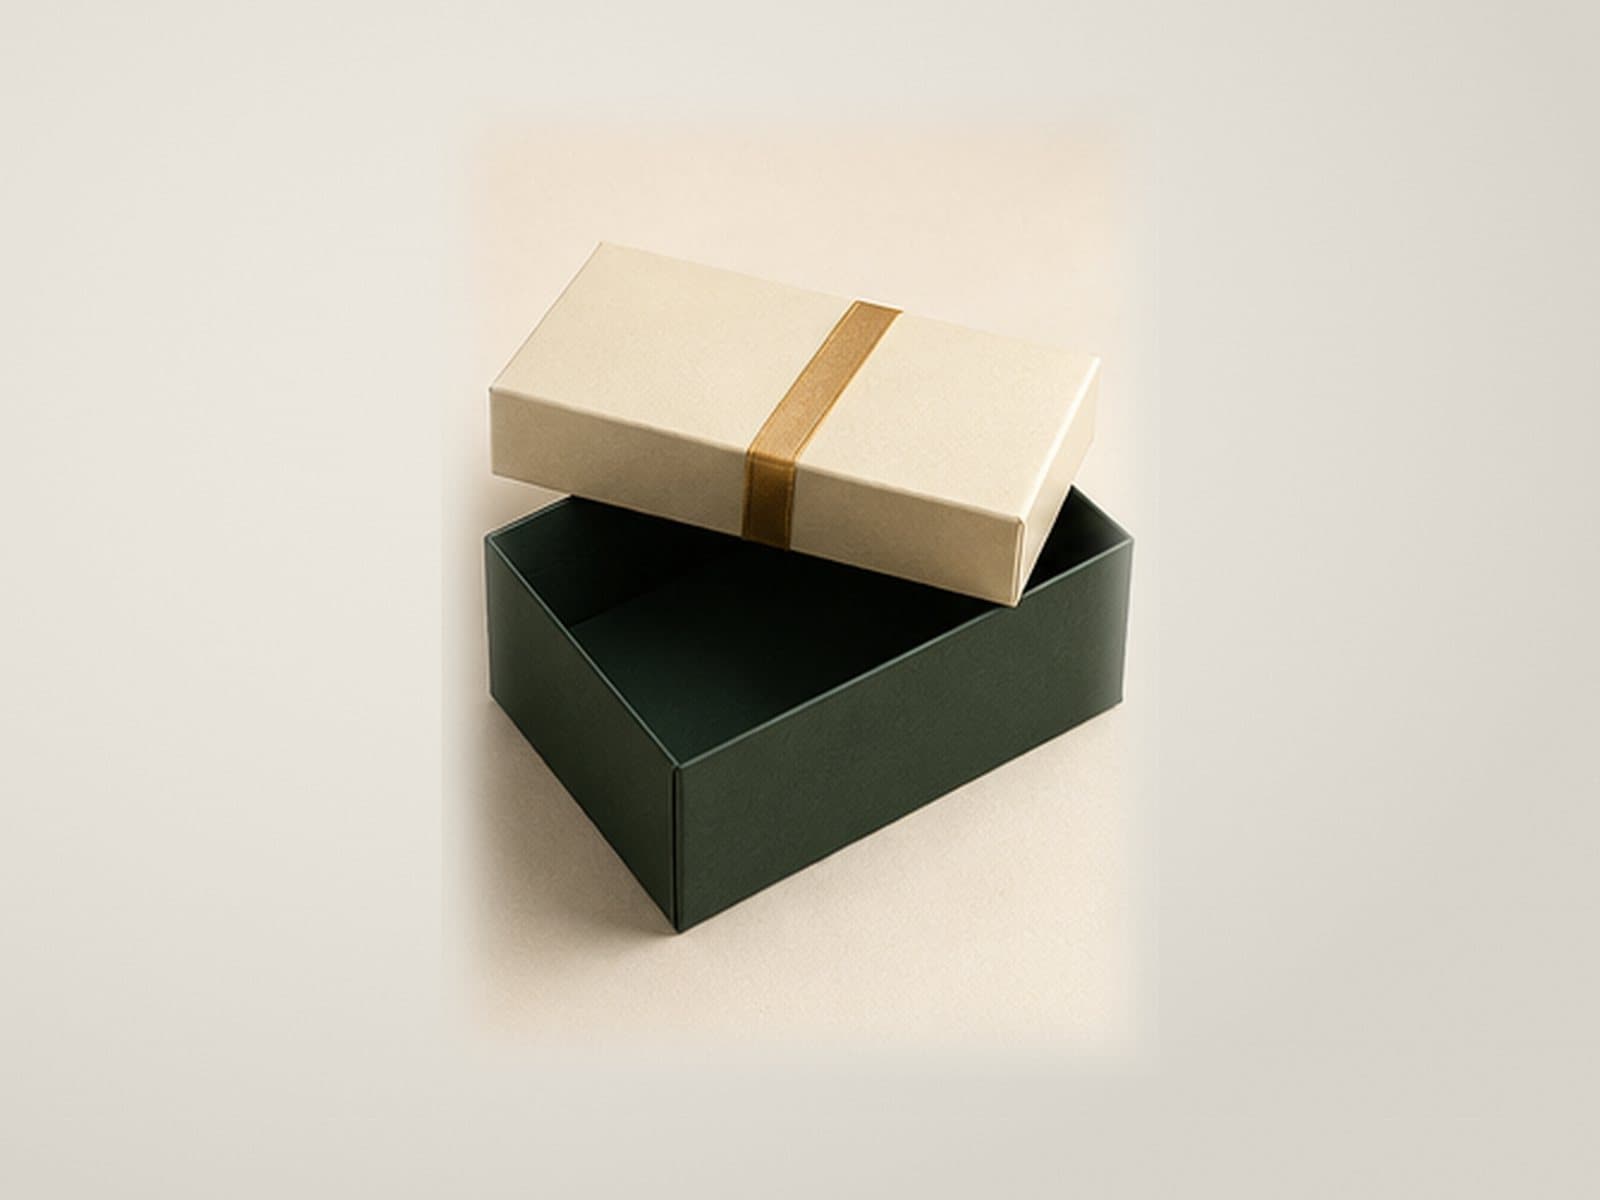
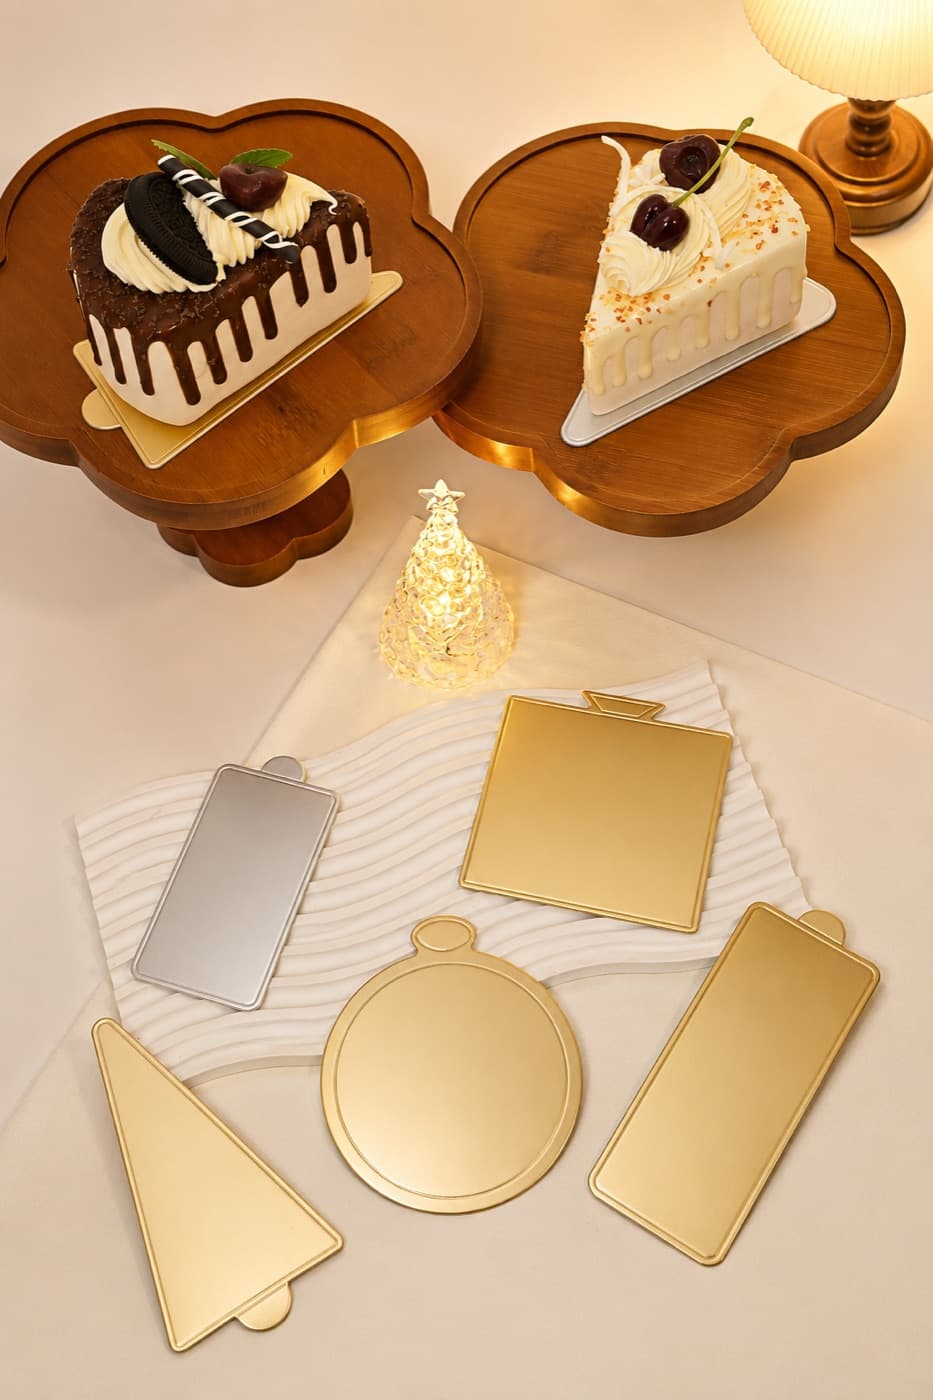
The box, board and drum should be reviewed as one packed set so the size and presentation stay aligned.
Direct answer
The short answer
Match a cake box, cake board and cake drum as one packed set. Confirm the cake footprint, board edge allowance, finished height, opening and any drum thickness before comparing sizes. Then review the material, surface and print areas against the selected products and sample brief. This prevents a board or drum from being treated as an unrelated item that changes the final presentation.
Buyer comparison
| Component | Confirm first | Set-level check |
|---|---|---|
| Cake box | Footprint, height and opening | Loading and presentation |
| Cake board | Diameter and edge allowance | Fit inside box |
| Cake drum | Thickness and presentation role | Closed-box height |
Why does a cake set fit on paper but fail when packed?
The nominal cake diameter is only one measurement. A projecting board edge, a thicker drum, decoration and a folded lid can use space that is absent from the first sketch. Work outward from the complete cake-and-support set, then check the opening through which it must pass.
Step 1: make a packed-set dimension record
Record the cake's widest decoration, the board's outside length and width or diameter, and the total height measured from the underside of the support to the top of the decoration. Keep board or drum thickness as a separate entry so a support change can be evaluated later.
- Plan view: board outline, cake outline and projecting decoration.
- Side view: support thickness, cake height, topper and usable closed-lid height.
- Opening view: loading direction, hand access and any inward-folding parts.
Step 2: compare the support and loading sequence
A thin cake board and a thicker cake drum create different packed heights and handling arrangements. Select the support with the intended cake and movement in mind, then try placing and removing the complete set. Do not turn a generic description of a thicker support into a verified load limit.
If loading from above risks touching decoration, review a wider opening and the way the support enters the box. Check how the buyer will grasp the board to remove it. A neat fit in the closed box does not guarantee convenient loading.
Step 3: check the window and print after assembly
Mark which decoration should be visible through the window. Position the main artwork on the assembled panels, leaving folds, cuts and handle areas clear of critical details. Inspect the complete set from the viewing direction used at the bakery counter.
For cupcake assortments, switch to a layout that records the cup count, cup footprint and icing height. Review the insert openings with that layout rather than substituting a cake board for a locating insert.
Step 4: approve one complete sample record
Review closure, removal and the intended storage-to-delivery sequence with representative contents. If refrigeration is part of the workflow, include that condition and any condensation in the sample review. Describe food-contact surfaces and the intended market for the material-document review.
Keep the approved drawing, support specification, window position, artwork version and packing instructions together. If the cake size, drum thickness or opening changes, recheck the set before treating the previous sample as applicable.
Before you send the brief
- Cake diameter or footprint
- Finished height
- Box opening and style
- Board or drum size and thickness
- Quantity, destination and reference photo
Sources
English version available: 蛋糕盒与蛋糕底托如何搭配